A Guide to Bathroom Waterproofing Systems
A beautiful bathroom can still fail behind the walls. In South Florida, where humidity is constant and bathrooms work hard every day, a small leak beneath tile can lead to loose finishes, damaged drywall, mold concerns, and costly repairs. This guide to bathroom waterproofing systems explains what homeowners should expect before tile is installed and why the hidden work matters as much as the finished design.
Waterproofing is not the same as using water-resistant materials. Tile, grout, cement board, and many natural stones can handle moisture, but none of them creates a complete waterproof barrier on its own. A properly built bathroom directs water into the drain and prevents it from reaching the framing, subfloor, and adjacent rooms.
Why bathroom waterproofing deserves careful planning
Bathrooms have several vulnerable areas: shower walls, shower floors, curbs, tub surrounds, niches, benches, plumbing penetrations, and the floor immediately outside a shower or tub. Water can move through cracked grout, open corners, poorly sealed fixtures, and gaps around a drain. It may not show up right away. Often, the first visible sign is staining on a nearby ceiling, swelling at a baseboard, or tile that begins to sound hollow.
The risk is higher in a shower because it receives direct water repeatedly. A large-format tile shower may have fewer grout joints than a mosaic shower floor, but it still needs a continuous waterproof layer underneath. Good waterproofing is a system, not a tube of caulk applied at the end of the project.
For homeowners planning a remodel, the key decision is usually not whether to waterproof. It is where the waterproofing belongs, how it connects to the drain, and which materials are compatible with the shower design.
The main bathroom waterproofing systems
Most residential shower projects use one of three approaches. Each can perform well when installed correctly, but the best choice depends on the existing structure, selected tile, drain style, and project scope.
Sheet membrane systems
A sheet membrane is a flexible waterproof layer installed over the shower substrate. Seams, corners, and transitions are sealed with manufacturer-approved overlaps, banding, or adhesive. These systems are commonly used on shower walls, floors, benches, curbs, and niches.
One advantage is consistency. Because the membrane is manufactured at a set thickness, the installer can see coverage as it goes on. Sheet membranes are also well suited to detailed areas where the material can be carefully wrapped and sealed.
The trade-off is that seams and penetrations demand precision. If an overlap is too short, a corner is not fully bonded, or the drain connection is handled incorrectly, the system can fail where it matters most. This is not a place to mix random products or rely on guesswork.
Liquid-applied waterproofing membranes
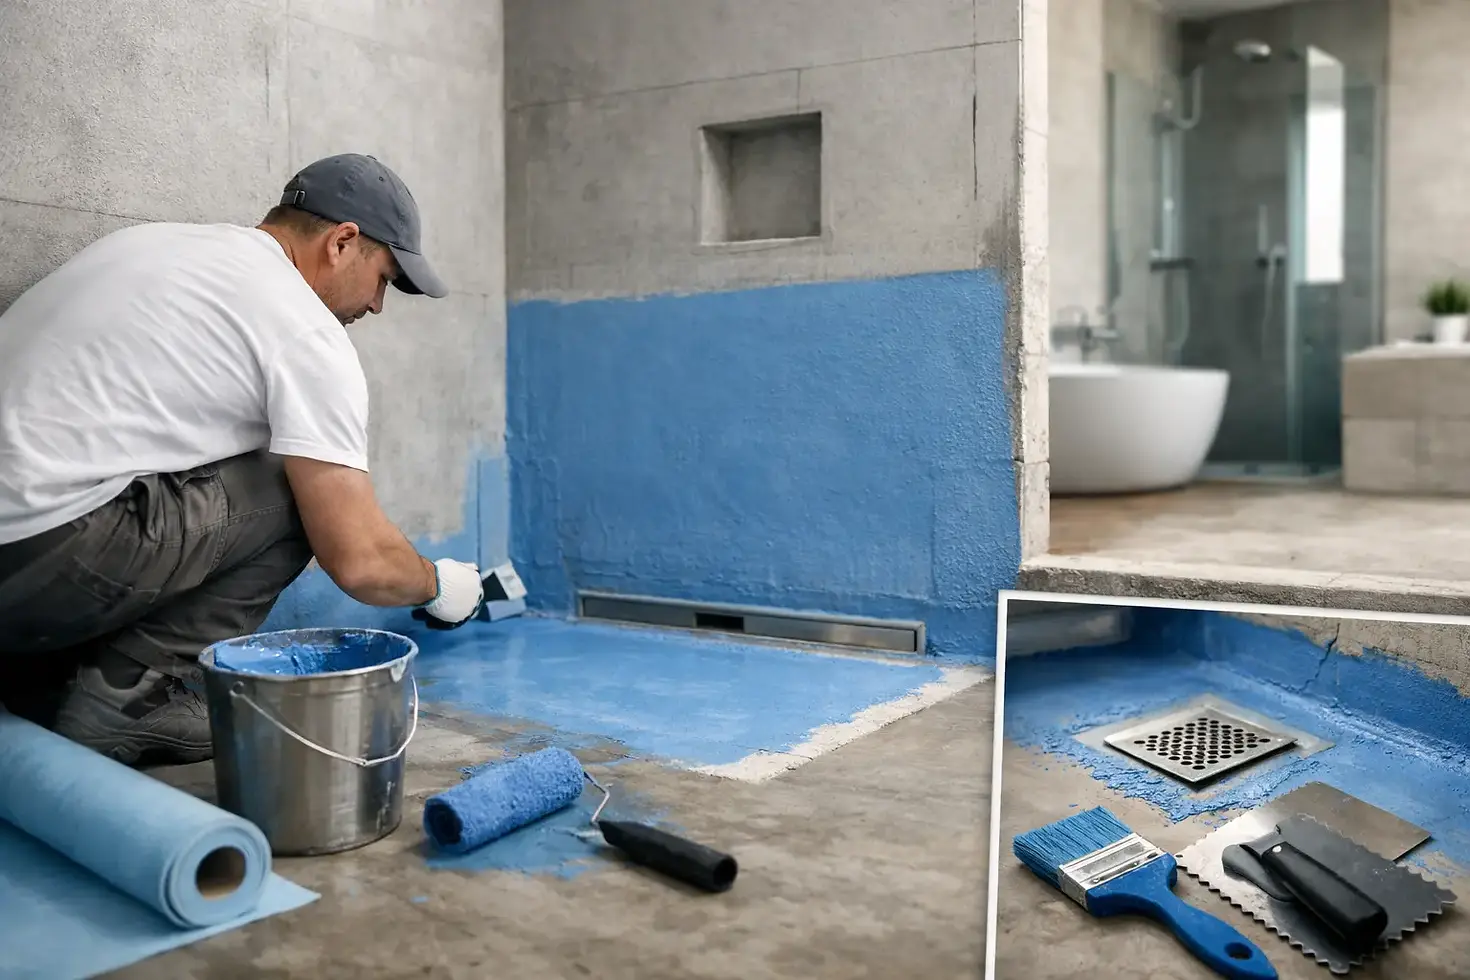
Liquid membranes are rolled, brushed, or troweled onto approved wall and floor substrates. Once cured, they form a flexible, waterproof coating beneath the tile. They can be an effective choice for complex shapes, wall-to-floor transitions, and repairs where a sheet membrane may be less convenient.
Application thickness is the critical issue. A coating that looks covered may still be too thin to meet the product requirements. Corners, changes of plane, fasteners, and pipe openings often need reinforcing fabric or additional treatment. The installer should allow the proper drying time between coats and before tile installation.
Liquid systems can create a clean, continuous barrier, but they require disciplined preparation and application. South Florida humidity can affect cure times, so the schedule should allow for the manufacturer’s instructions rather than rushing to set tile.
Traditional mortar-bed shower pans with liners
A traditional shower pan typically uses a sloped mortar bed, a waterproof liner, and a clamping drain. The liner sits below the final tile setting bed and directs any water that passes through the tile assembly toward the drain’s weep holes.
This method has been used for many years and can be dependable when built correctly. It requires proper pre-slope below the liner, correctly protected drain weep holes, careful curb construction, and a liner that turns up the walls and wraps the curb without punctures in vulnerable areas.
The challenge is workmanship. A flat liner, clogged weep holes, or fasteners placed too low on the curb can compromise the pan even if the tile looks excellent. Traditional systems remain a practical option in the right hands, particularly when the shower design and drain assembly are planned together from the start.
What should be waterproofed in a bathroom?
The shower enclosure should receive the most complete protection. That includes the shower floor, walls to the appropriate height, curb or entry, drain connection, bench, recessed niche, and all wall-to-floor and wall-to-wall transitions. If the shower has a glass enclosure, remember that glass does not eliminate the need for waterproofing behind it.
Tub surrounds should also be waterproofed, especially on the walls that receive regular spray. A bathroom floor may need waterproofing beyond the shower area when the layout, substrate, or homeowner’s goals call for added protection. This is particularly worth discussing in bathrooms used by children, aging family members, or guests, where splashing and overflow are more likely.
Not every wall in a bathroom needs a full shower-grade membrane. Overbuilding can add cost without a practical benefit. The right approach is to protect the wet areas thoroughly and address nearby transitions thoughtfully, based on how the room will be used.
Details that separate a sound installation from a future leak
Waterproofing failures rarely start in the center of a wall. They usually begin at a transition: a corner, drain, niche, bench, curb, pipe opening, or door threshold.
A shower floor must slope consistently toward the drain before the finished tile goes in. Standing water on tile after a shower can sometimes be a surface-tile issue, but it can also point to an underlying slope problem. The drain must also match the waterproofing method. A bonding-flange drain and a clamping drain are designed for different assemblies, so they should never be treated as interchangeable.
Benches and niches deserve special attention because their horizontal surfaces collect water. Their tops should be sloped toward the shower, not toward the wall. Every seam around these features needs to be fully integrated into the selected waterproofing system.
Cement board is another common point of confusion. It is a suitable tile backer in many applications, but it is not waterproof by itself. It still needs a properly installed membrane in shower areas. Greenboard and standard drywall are not suitable substitutes inside a conventional tiled shower unless they are part of a manufacturer-approved system designed for that use.
How to evaluate a waterproofing plan before work begins
Before demolition is complete, ask how the shower pan will be constructed, what waterproofing system will be used, and how it will connect to the drain. You should also understand how the contractor plans to waterproof the curb, niche, bench, and plumbing penetrations.
A flood test is one of the most practical quality checks for a shower pan. Before tile is installed, the drain is plugged and the pan is filled with water for the required test period. This helps confirm that the waterproof assembly holds water before expensive finishes cover it. Local permit and inspection requirements can vary by location and project scope, so the plan should account for the applicable requirements.
It is also reasonable to ask about material compatibility. A complete system from one manufacturer is often the simplest path because the membrane, sealant, drain components, and accessories are designed to work together. That does not mean every project needs one brand from start to finish, but mixing products without clear approval can create unnecessary risk.
Protecting the work after the remodel
Once the bathroom is finished, regular maintenance protects the visible surfaces and helps reveal problems early. Keep the bathroom ventilated during and after showers, repair failed caulk at changes of plane, and address loose tile or recurring grout cracks promptly. Caulk is a maintenance joint, not a substitute for the waterproofing behind the tile.
Avoid drilling into shower walls for accessories unless you know what is behind the tile and how the penetration will be sealed. If a shower door, grab bar, or accessory needs mounting, the installer should use an approach that respects the waterproof assembly.
A bathroom remodel is a long-term investment, and waterproofing is the part you should never have to think about once the room is complete. Balan Construction helps South Florida homeowners plan bathroom renovations with careful preparation, clean workmanship, and the right attention to the details behind the tile. Before choosing finishes, make sure the waterproofing plan is clear enough to protect the room for years of daily use.


Comments